Best Settings for High Quality JPG to PDF Conversion
Converting JPG images into a PDF is simple but maintaining high quality during conversion is where most people make mistakes.
Blurry images, oversized files, distorted pages, and poor print results usually happen because of incorrect settings.
In this guide, you’ll learn the best settings for high-quality JPG to PDF conversion so your final document remains sharp, clear, and professional.
Why Quality Drops During JPG to PDF Conversion
Before choosing the right settings, it’s important to understand what causes quality loss:
- Image compression during upload
- Automatic resizing
- Low DPI settings
- Incorrect page scaling
- Repeated re-saving of files
Using optimized settings helps prevent these issues.
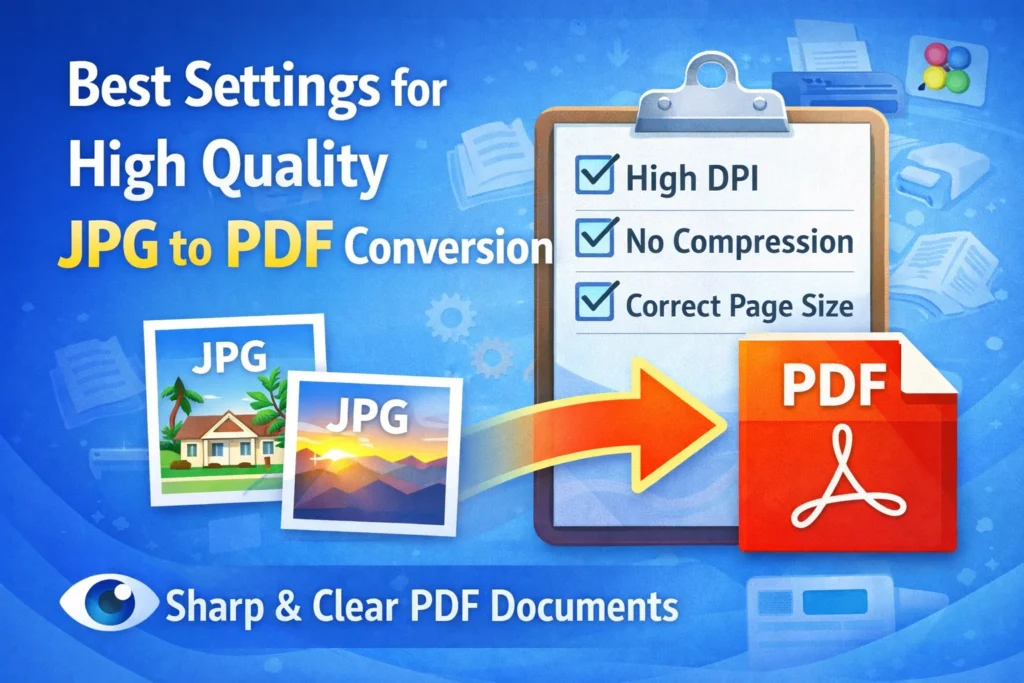
Ideal Image Resolution (DPI Settings)
DPI (Dots Per Inch) directly affects print clarity.
Recommended DPI Settings:
- 300 DPI – Best for printing documents
- 150 DPI – Good for digital viewing
- Below 100 DPI – May appear blurry
If your JPG is already low resolution, increasing DPI later will not improve quality. Always start with high-resolution images.
Choose “No Compression” or “High Quality” Mode
Many converters offer compression options:
- High compression → smaller file, lower quality
- Medium compression → balanced
- Low or no compression → best quality
For official documents, always choose low compression or high-quality mode.
Correct Page Size Selection
Wrong page size can stretch or shrink images.
Best practice:
- Use A4 for documents
- Use Letter size for US format
- Use “Fit to page” carefully
- Avoid auto-scaling if not necessary
Improper scaling can distort text or reduce clarity.
Maintain Original Image Orientation
Before converting:
- Rotate images correctly
- Crop unnecessary edges
- Ensure uniform dimensions if possible
Inconsistent image sizes can create uneven PDF pages.
Color Mode Consideration
JPG images usually use RGB color mode. During conversion:
- Keep RGB for digital documents
- Use CMYK only if preparing for professional printing
Changing color modes unnecessarily can affect clarity and file size.
Avoid Repeated Conversions
Every time you:
JPG → PDF → JPG → PDF
Quality can degrade.
Always convert from the original JPG file instead of a previously converted document.
File Size vs Quality Balance
Sometimes high-quality PDFs become too large.
To balance size and clarity:
- Keep image resolution reasonable (300 DPI max for print)
- Avoid extremely large dimensions
- Compress PDF after conversion (not before)
This ensures the best output without unnecessary file size.
Best Settings Summary
Here’s a quick overview:
| Setting | Recommended Option |
|---|---|
| DPI | 300 DPI (Print) / 150 DPI (Digital) |
| Compression | Low or None |
| Page Size | A4 or Letter |
| Scaling | Keep original size |
| Color Mode | RGB (Digital) |
Common Mistakes to Avoid
❌ Uploading screenshots instead of original photos
❌ Using high compression for official documents
❌ Ignoring page size settings
❌ Converting already compressed images
Small mistakes can significantly reduce final PDF quality.
When High Quality Really Matters
High-quality JPG to PDF conversion is essential for:
- Job applications
- Government forms
- Academic submissions
- Legal documents
- Business contracts
A sharp, clean PDF creates a more professional impression.
Final Thoughts
Getting the best settings for high-quality JPG to PDF conversion is not complicated but it requires attention to detail.
Start with high-resolution images, avoid unnecessary compression, choose the correct page size, and always preview your final PDF before sharing.
With the right settings, your JPG to PDF conversion will remain sharp, clear, and professional every time.